Translate

Tuesday, April 5, 2016

Summer in yellow...

This tank dress made me so happy:  it had all of the best stash-busting upcycle ingredients:  a ruined tank top, a Kohl's super bargain, and a lots of lace already on hand!  


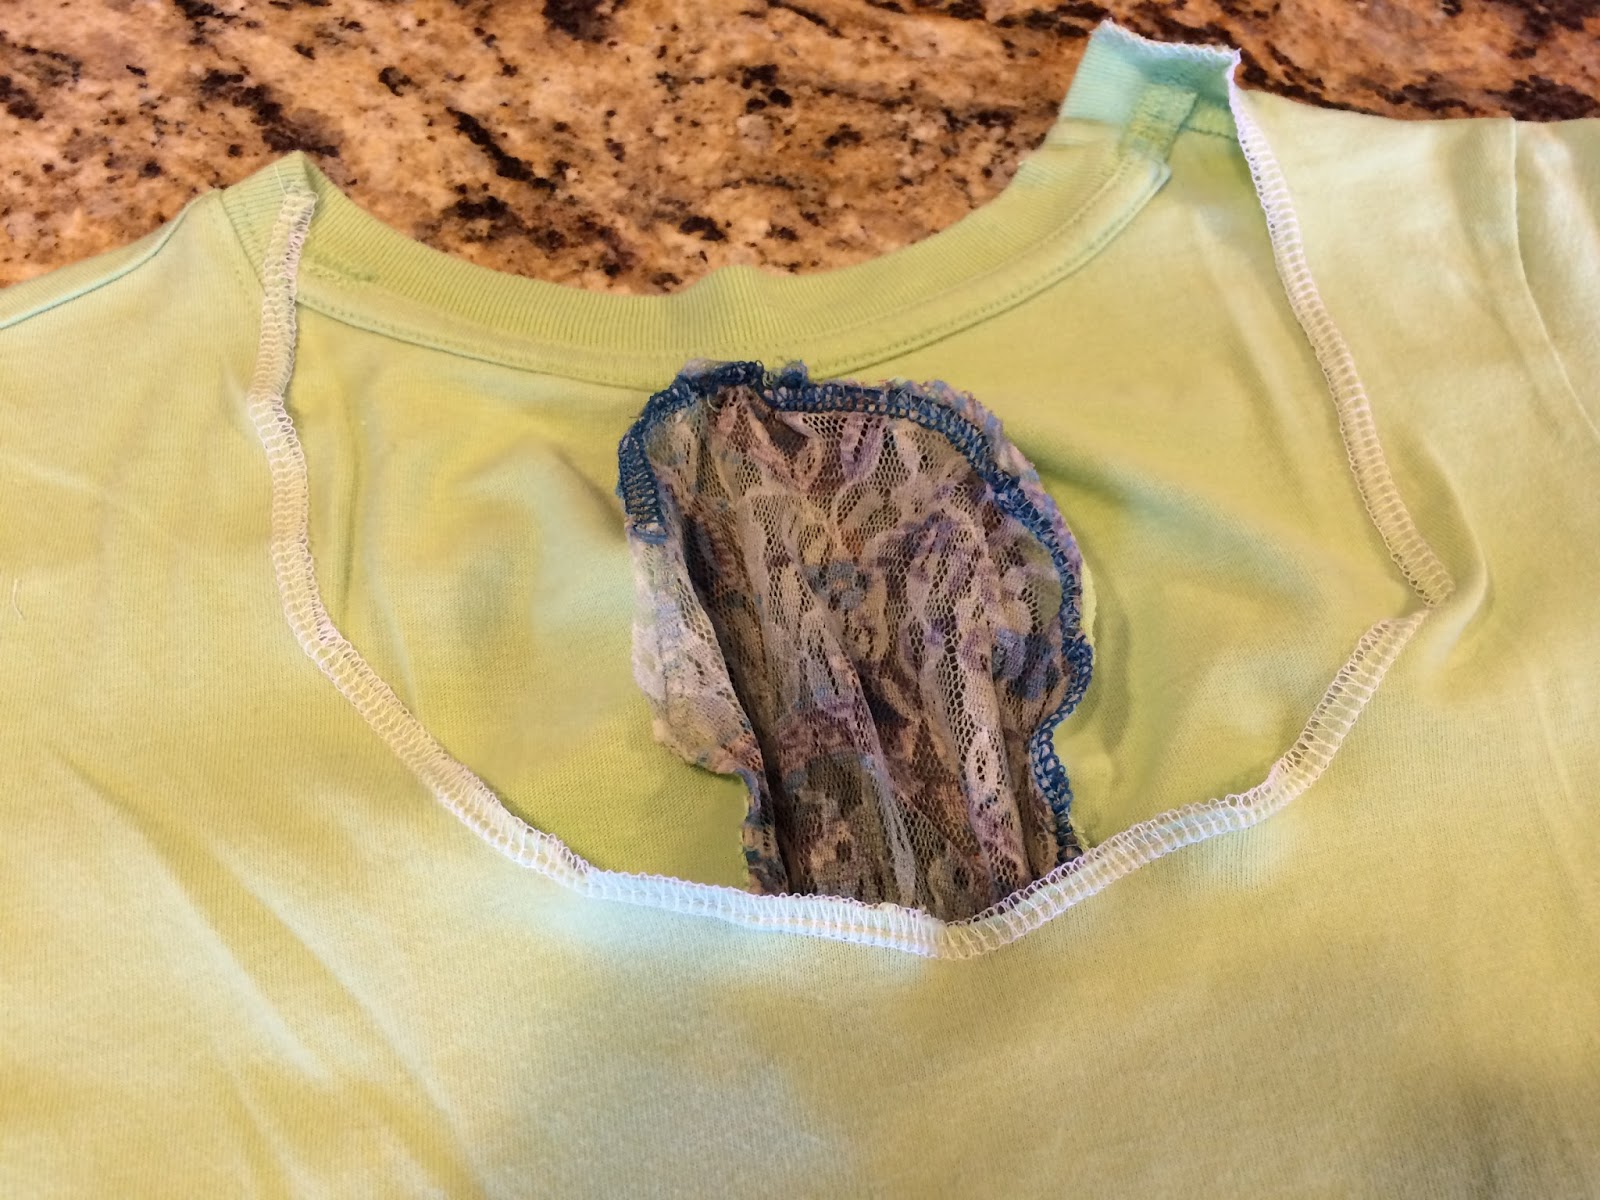
Last summer I ruined my favorite yellow tank top with a sharpie.  Note to self: never talk with your hands while holding an indelible marker.  Naturally, I somehow marked a streak on the chest in an area that I had a very hard time thinking of a way to cover with lace without looking rather ridiculous.

Enter the $3 clearance blouse from Kohl's.  Beautiful patter, super sheer chiffon, and two sizes too big.  Of course, I had a chunk of lace on hand from the yellow sweater redo I gave Heather a couple of Christmases ago.


All I had to do was cut the blouse into a skirt (even got to keep the factory hem - bonus!), line it with a lace slip that you can't see (so you can't see through the skirt), and sew the tank top over it all.  I had a momentary panic due to bunchiness where I sewed the skirt on.  Okay, maybe more than momentary.  Once I figured out I could just cover it with a strip of the slip lace, I think it turned out wearable.  A strategically placed pocket completely covered the killer sharpie's evidence.


I even had enough blouse fabric left to make a corsage for my yellow sweater...  And three pieces are moved out of my upcycling bin and into my closet!

Wednesday, February 3, 2016

So excited about my new toy:  I don't know what real people call these, but I'm calling mine 'my swatch wall'.  Dear Hubby hung two sides of our dog's old kennel on the wall and presto...


Now I can mix 'n match bits of clothes against each other BEFORE sewing them together...  Thank you, DH!!!

Friday, September 25, 2015

Next stop... Titanic!

I probably had as much fun getting ready for our Titanic voyage as I did attending the play this spring. 

We tried to be thematically correct, so first I went to my closet and found the sleeveless top.  Then, I went thrifting... and found the champagne silk maxi skit and the beaded slip dress.


 I wanted to make a kimono style jacket out of the slip dress.  First I removed the lining and sewed the front & back together to create a single panel for the back.  Then I took the sheer beaded over-slip and used the front and back pieces of it to make the left and right panels for the kimono jacket.  I wanted a wavy effect for the sleeves, so I finished them up by turning a piece of brown ribbon into bias tape.  I belted it with a thrift-shop belt and a vintage pin so any puffiness from not cutting a proper neckline was eliminated.


After the inevitable shortening of the skirt, I had some champagne lining left over (note to self:  next time leave a slit to enable walking in grown-up steps).  A handful of frippery and my trusty glue-gun led to my removable hat band for my good wool hat.  I can still wear it this winter, sans the feathery goodies.


Next step was taking Dear Hubby to the costume rental store -- sadly, my clumsy refashioning skills were NOT up to upcycling something into a suit and tails for him.  And...ta-dah!


This was kind of a dream come true for me, because I got to go to a party where I got to dress my friends...  Vicki, with the lacy bell sleeves is wearing the birthday sweater I made her.  It's in the January "A Birthday Sweater Redo..." blog.  I can't take credit for any of Natalie's outfit, although I *did* get to go thrifting with her to get all of her pieces.  Plus we had a misadventure that involved nearly selling her wallet at the Goodwill store...  Thank you, ladies!


Wednesday, September 23, 2015

How I spent my birthday weekend...

Sewing!!!  We even managed to get a trip to the Joslyn Art Museum in around my projects...  BTW, the Joslyn has a fantastic lunch counter...best kept secret in town, so shhhhhh.  And I got 3 re-fashioning projects done:

1.  Up-cycle my 15-year-old denim blazer with fiber stitching and lace.


2.  Hide frayed collar on green dress with applique from   on etsy.com. 


+


3.  Finish machine-sewing hand-cut lettering on blue tee before family weekend at Dear Daughter #1's school.


I guess ironing will be next...  Good to know I won't be running out of projects any time soon!

Saturday, September 19, 2015

Blarney Blouse

We went through a huge photo dump yesterday and I found pictures I hadn't posted from my favorite creation yet:  my blarney blouse!  This upcycle was inspired by a St. Patrick's Day party... who knew I didn't have anything green to wear?


So it started as this:


The green tee was Dear Daughter #1's in junior high. It was *MUCH* too tight for me and my dress dummy (even with it is set completely flat because I can't figure out the settings to give it curves - BTW, if anyone can help me figure out how to adjust the dress dummy's bust, I would be eternally grateful).  The second shirt was one of those sheer lace tops that I wore a cammie under in the 90s.  I'm a sucker for paisley, so I've held onto it a L-O-N-G time.

First step was to split the back of the tiny tee shirt open to make room for all of me.


Next stop...a touch of paisley.  I hacked off a sleeve and just sewed it in the back split.  Double win here, because I have two layers so the thing isn't so sheer and the pretty trim on the bottom stays!


You can see how messy the inside is, but it isn't itchy so I'm still counting it as a win.


I really liked the turquoise piping, so I cut what was left and  used it to pull the sleeve shape into a bell on the back -- using the old "I tried to make it look that way" bluff. 


This left me tons of the lace, which I stitched into two tubes (including the remaining sleeve), and tacked on as a scarfy, cowl collar.  I cut the back of the lace sweater into narrow strips and sewed those on, too.


I think what makes this one of my favorite projects is how very little there was left when I was done:


These are what inspired the little rosette.  I sewed a matching bead into the middle of my rose and used up the last bit of trim for a ribbon. People are probably getting sick of seeing me in this, as I think I've been wearing it every week.  The constant washing is creating a beautiful felting in the collar - another happy accident.  Maybe there's something to be said for kissing the blarney stone?

Sunday, February 15, 2015

Minne Mouse in the House!

Update:  Serger arrived.  I pulled the machine out of the box.  I read both accompanying manuals.  I memorized all the parts' names.  Then I became intimidated and put the machine in the cupboard and pulled out the old broken sewing machine to make this sweatshirt refashion:


I am a whimp (that's wimp with an 'h' to emphasize wimpiness).  The good news is that Momo is coming this week to help me overcome my serger drama.  Thank you, Momo!!! 

My old machine's thread broke a few times during this project, but it was imperative that I have this sweatshirt for our Disney trip just around the corner.  It started life as two Kohls-Cash specials:


My eldest Dear Daughter thought the plaid top looked like a onesy for a lumberjack.  I thought it looked like a skirt for my Minnie Mouse upcycle. 

No gathering this time - the broken sewing machine would not stand for it.  Instead, I just sliced off the bottom of the plaid tee and serged it under the sweatshirt band (sans serger).  It's a little more puckered than I was hoping for, so I tried to draw attention away from that by making the three-dimensional bows.  Here's the one in the back:


I'm sensing a theme inspired by the Arial tee-redo.  Can't wait to see what Mickey thinks of it... 

Wednesday, February 11, 2015

Arial tee refashion...with ruffles, of course.

My new machine arrived!!!  I am a little intimidated because I've never used a serger before, but while I'm working up my courage, here's a tee-refashion that I got done BEFORE my sewing machine died.

So, I had this tee-shirt with The Little Mermaid on it...


But there was a hole.


No, really, it's there if you look closely enough.  How could I wear a tee-shirt with a hole to Disney World???  The scandal!  The shame! 

And there was this scarf...


But it had this loose-weave-kinda-hole thing happening:


...which I think gathering into ruffles would hide and maybe even strengthen pretty well.

So I cut each of the patterned stripes into long strips to make my ruffles.  The scarf is VERY thin.


 I tried the same trick that I use for making your own bias tape for these, to make the ruffles more substantial:  fold the strip in half and press; open the pressed strip and fold each side up to the center and press.  Then you have a "tape" with no unfinished edges to ruffle into place. 

I had some scarf left over, so waste-not/want-not... Now I have fluttery sleeves that no self-respecting woman-over-thirty (ahem) would wear in Disney.  But who said I'm self-respecting... I'm DISNEY-respecting here.  Anyway, making the sleeves was intriguing, because they were cuffed and provided a very nice way to hide the stitches. 

Here is the finished upcycled shirt:


I will wear this to request Arial's autograph.  OK.  A little creepy.  Perhaps I will just give Arial a little wave from afar -- you know, princess-to-princess.


I like the bow in the back best.